When wearing a backpack for rucking, a hip belt is a must. The belt distributes your weight to your hips from your shoulders by a rate of up to 80 percent. If this will be your first experience with a ruck hip belt, you may have no idea how to connect it to your backpack. How do you do it?
To add a hip belt to a ruck backpack, place the Velcro panel of the hip belt over that of the ruck pack’s sleeve. Use laminated cardboard to guide the hip belt into the sleeve, pull the cardboard out, and then attach your hip belt stabilizers with needlenose pliers.
In this guide, we’ll explain step by step how to secure a ruck hip belt. We’ll also discuss where the belt should sit and whether pain from wearing a hip belt is normal. You won’t want to miss it.
Step by Step Guide on How to Add a Hip Belt to a Backpack
Before we get into the steps for attaching a hip belt to a backpack, we want to mention two things. First, this post assumes that you have a hip belt handy already. Second, your backpack will need a sleeve for the steps ahead. If your current rucking bag is sleeveless, please sew a sleeve according to your hip belt’s measurements.
With that out of the way, here are the steps to follow to add your ruck hip belt:
Step 1: Align the Velcro Panels
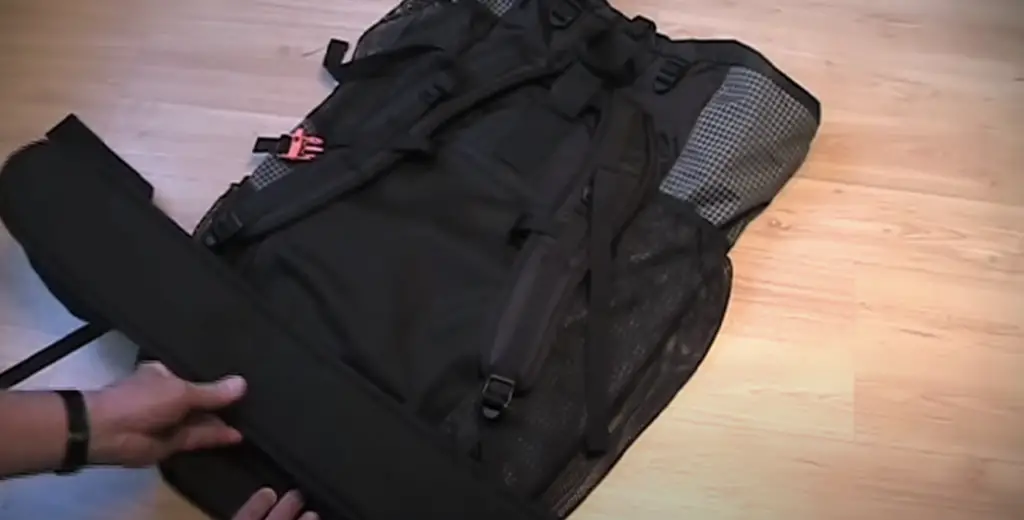
Step 2: Put a Strip of Cardboard in Your Backpack’s Sleeve
Step 3: Add Your Hip belt
Step 4: Remove the Cardboard from the Sleeve
Step 5: Connect the Hip Belt Stabilizers
Step 1: Align the Velcro Panels
Put your hand inside your ruck bag’s sleeve. You should feel a Velcro panel. Your hip belt will also feature a Velcro panel that’s roughly the same size. Place the hip belt panel over where the sleeve’s panel is.
Step 2: Put a Strip of Cardboard in Your Backpack’s Sleeve
Although it seems like sliding the hip belt into the sleeve would be easy-peasy, you need to keep the two Velcro panels aligned the whole time, and that’s not as simple as you would think. If the panels are only partially aligned or barely connected, then your hip belt will not be secure. Once you put weight on it, the belt can fall right off.
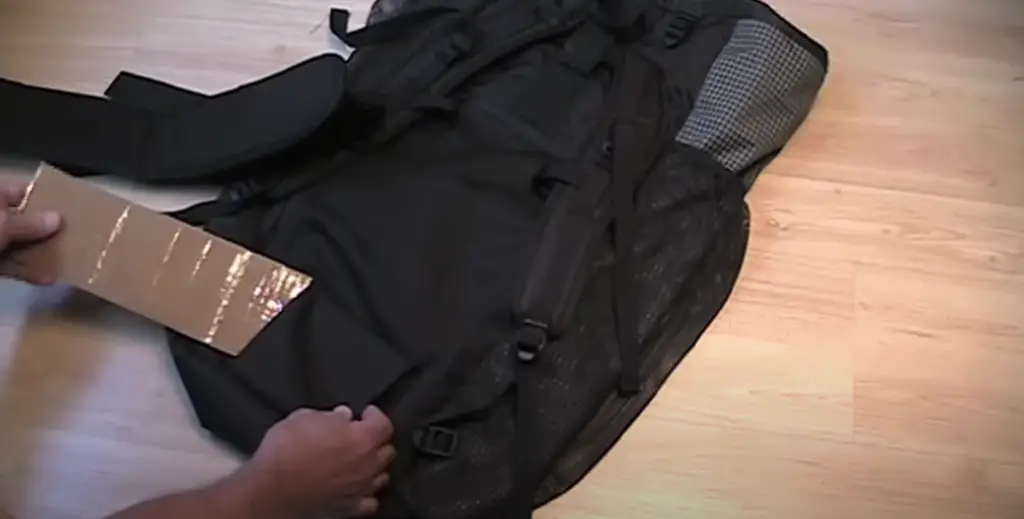
Here’s a little pro tip for smooth insertion of the hip belt into your ruck pack’s sleeve. Take a piece of cardboard–such as from an old Amazon box–that’s about the same size as your backpack’s sleeve, but a little longer. The cardboard should be able to slide in and out of the sleeve but fit snugly.
Once you cut the cardboard down to size, laminate it on all sides. This preserves the cardboard’s condition so you can use it again and again on backpack sleeves of the same size.
Complete this step by sliding the piece of cardboard into the sleeve.
Step 3: Add Your Hip Belt
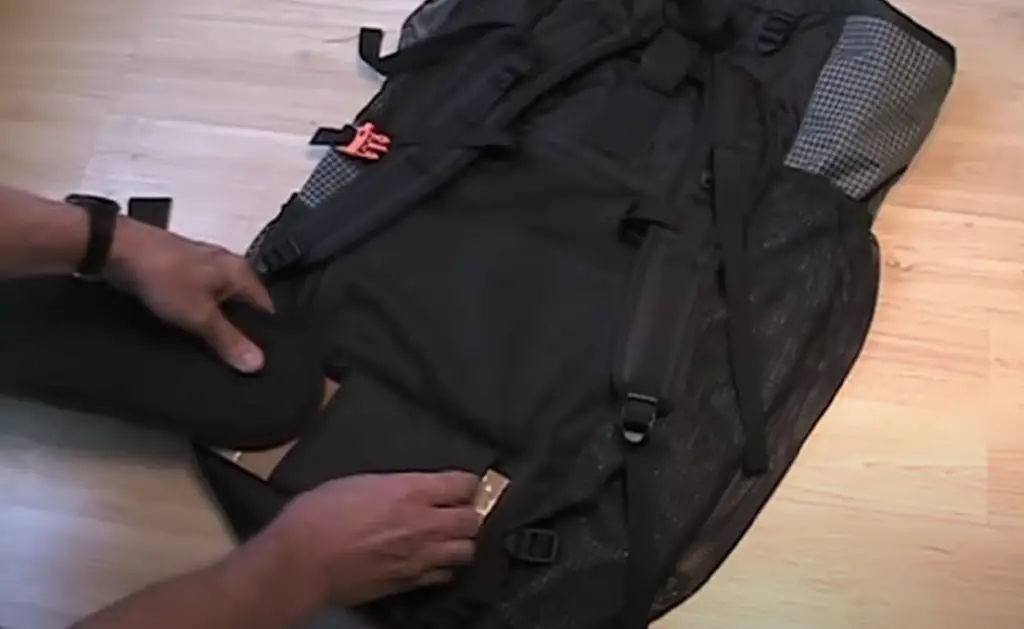
The smoothness of the lamination will help the hip belt go right into your ruck pack’s sleeve. As you slip the hip belt into place, feel through the sleeve’s material for the Velcro panel. Double-check that this panel is lined up with the Velcro panel on the hip belt. Press firmly to attach the Velcro panels.
Step 4: Remove the Cardboard from the Sleeve
Keep one hand on the Velcro panels and, with your other hand, reach to one end of the backpack’s sleeve and pull out the laminated cardboard.
Step 5: Connect the Hip Belt Stabilizers
Hip belts feature a stabilizing strap, which is the part that distributes your rucking weight towards your hip belt. The strap also limits your side motion as you walk. It’s a crucial feature of the hip belt but not always the easiest to set up. You’ll probably need pliers, with needlenose pliers especially recommended.
The buckles of the hip belt stabilizing strap tend to be tiny, so here’s what you do. If you can, with your hands, pull the stabilizing strap through the first opening of the buckle. You can alternately use the pliers. You’ll more than likely need your pliers to finish the job as you pull the strap over the second part of the buckle.
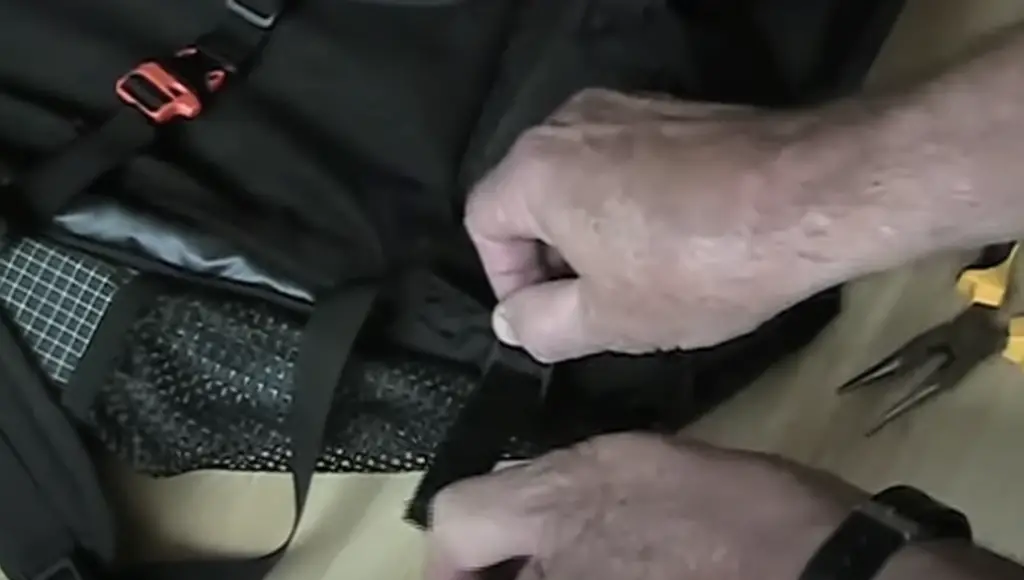
Repeat this on the second side and you’re all finished!
Where Should the Hip Belt Sit?
How do you know whether you set up your hip belt properly? How should a backpack hip belt fit?
Since it’s called a hip belt, you should expect the belt to encircle your waist at the hip bones, specifically over the iliac crest. What is the iliac crest? This is a large, curved bone in your hip region that you can feel under your skin by your hips.
Padded wings around the hip belt prevent uncomfortable rubbing and chafing that can make you want to quit rucking early on. If the wings don’t encompass the entirety of your hips, shift them until they do. Keep both padded wings from touching, as if they’re that close, your belt is too loose.
Can Wearing a Belt Cause Hip Pain?
A properly-fitted hip belt takes on the brunt of the weight so your shoulders don’t have to. Will that lead to pain? It’s always a possibility, yes, but we couldn’t find any official studies that stated whether wearing hip belts can be more painful than foregoing one.
Rucking is a strenuous sport, which is putting it mildly. You’re always pushing yourself to complete the next milestone and then the next and the next. In the meantime, you must listen to your body. You only have one, and you have to take care of it.
If your hips ache, it doesn’t hurt to stop your ruck, readjust your weight belt, and see if that helps. You may also consider lightening your load if that’s allowed under rucking rules.
Conclusion
A ruck hip belt is preferable for redistributing weight from the upper half of your body to your center. If this is your first experience with a hip belt, now you know exactly how to add one to your sleeved rucking bag. Remember to check the fit of your hip belt before you go and listen to your body if you’re feeling achy. Best of luck!