Do you want to improve your dynamic resistance, stability, and strength outside of the rucking you already do? Maybe you’re seeking a new challenge? Perhaps prepping for a rucking event? Carrying a sandbag when you ruck is just what you’re looking for. You’d love to make some DIY sandbags to tote, but how?
Here’s how you make DIY sandbags for rucking:
- Buy some play sand or other cheap sand
- Measure out the sand on a scale
- Fill a sandbag with the quantity of sand you want
- Use 100 MPH tape to secure the bag from all sides
- Carry your sandbag pill
Making a ruck pill is super easy, inexpensive, and you have the benefit of controlling the weight of your DIY sandbag.
In this article, we’ll tell you everything you need to know about sandbags for rucking. We’ll elaborate on the above steps (including some product recommendations), discuss the benefits of rucking with the extra weight, and even share some ready-to-go sandbags if you don’t want to make your own.
Let’s get started.
Table of Contents:
1. How To Make Your Own Sandbag Pill
2. The Benefits of Using Sandbags for Rucking
3. Why Sandbags Are a Great Choice for Adding Resistance When Rucking
4. Sandbags vs. Ruck Plates: Which Is Better?
5. Ready-to-Go Sandbag Options
How to Make Your Own Sandbag Pill
Ready to get started with your DIY sandbag ruck? Here’s how to make your own sandbag pill:
Step 1: Buy Sand
Step 2: Measure the Sand & Weight
Step 3: Fill Your Sandbag
Step 4: Tape up Your Sandbag
Step 5: Put the Sandbag in Your Rucksack
Step 1: Buy Sand
A favorite among ruckers to use when making a sandbag pill from scratch is Quikrete’s play sand (link to Amazon). A bag weighs 50 pounds, so for $34, you’re definitely getting the value for your money. You may have some sand leftover in the bag or you might use the whole thing, but one bag should suffice.
If you’re on a budget when making your sandbags, then buy whatever cheap sand you can get your hands on.
Step 2: Measure the Sand & Weight
As we mentioned in the intro, one of the best parts of using a DIY sandbag to ruck is that you get to choose its weight. However much sand you want in the bag, measure out the precise quantities next. A bathroom scale works for this job, but make sure yours can register more than 20 pounds. Otherwise, you have to measure the sand in 10-pound increments or so. This makes the whole process take longer.
Step 3: Fill Your Sandbag
You will need a sandbag as well. You can buy a 10-pack of sandbags (link to Amazon) for as little as $12, so even if you want to keep this DIY project low-cost, that’s totally doable.
With how cheap sandbags can be, please don’t try to use alternate materials in lieu of a real sandbag. A heavy-duty trash bag will rip the moment you fill it with sand. You need a polypropylene sack; accept no substitutes!
Once you have your bag, fill it up with the quantity of sand you measured in the last step. Speaking of sand, check out our recent post on how to ruck on the beach and on the sand.
Step 4: Tape up Your Sandbag
Your sandbag may have come with a securing tie, and while that’s great, you can’t use only the tie and call it a day. You never know if the sand will go spilling out of your rucksack once you begin your next ruck. You must tape the sandbag pill so it’s tighter than Fort Knox.
Start by taping the pill vertically, adding tape until the opening of the bag is completely sealed. Then wrap tape horizontally around the sandbag pill. When you feel like no sand can escape, then consider this step done.
What sort of tape should you use? We’re glad you asked! Duct tape, although great for many applications, is not going to work here. You need something heavy-duty like 100 MPH tape (link to Amazon) by Tac Shield. One roll is 60 yards, so you should have plenty of tape for making as many DIY sandbags as you want. You can even select between green or tan colors for the tape.
Step 5: Put the Sandbag in Your Rucksack
Congrats, you’ve made a sandbag! Whether you chose one heavier sandbag or several lower-weight bags is up to you, but you can always follow the above steps again to make more ruck pills.
The Benefits of Using Sandbags for Rucking
If you’ve never carried sandbags before, be ready for a whole new challenging, exciting experience. Here are some of the benefits you can reap once you use sandbags for rucking:
More Strength
You’re always looking to increase your strength since you’ve started rucking, and training with a sandbag is a great way to do it. All those movements you can usually do with relative ease when rucking have now become that much more difficult, but in a good way. You’ll learn what your body can really do when you ruck with a sandbag.
However, don’t push too much too soon. When deciding how much sandbag weight to add to your ruck, make sure it’s within one-third of your body weight. Let’s say you weigh 200 pounds. One-third of that is approximately 66.67 pounds, which we’ll say is 66 pounds for simplicity’s sake.
You can eventually work your way up to heavier sandbag loads, maybe those that are 70 pounds and up, but you should have rucked with 66 pounds of sandbags for a while before attempting that feat.
Learn more about Rucking For strength.
Easy Workouts Whenever
Rucking is an awesome means of staying fit since it’s so versatile. You don’t have to worry about your gym being closed since you can ruck outdoors almost anytime. So too is implementing sandbag training into your exercise regimen plenty versatile. You can ruck or train with a sandbag just about anywhere with level ground, from your backyard to your driveway and even your garage if you have the space.
Gyms aren’t that portable and never will be. No one likes the sounds of barbells clanging around in their trunk, plus, it’s a little strange to bring weights like that to the park. As for rucking with a sandbag at the park? No one will think twice about it!
Usefulness in Real Life
Being able to carry upwards of 50 pounds in sandbags will come in handy all the time in your non-rucking life. The next time you have a heavy load from the grocery store that needs to come in, that won’t be a problem for you in the slightest. When a friend asks you to help them carry moving boxes, you’ll hardly break a sweat. If you have a family, you can also keep up with and pick up your children with ease.
You’ll feel like a Superman or Superwoman in your day-to-day life as well as when rucking. It doesn’t get better than that!
Why Sandbags Are a Great Choice for Adding Resistance When Rucking
Another perk of using sandbags when rucking that we haven’t touched on yet is the addition of dynamic resistance aka dynamic tension. Dynamic exercise causes your muscles to stretch and move simultaneously while also activating your joints.
As you build up dynamic resistance when rucking with sandbags, your hips and torso will become stronger and more stable. Now, when you exercise or do everyday lifting, your force transfer is better than it was before. Since sandbags shift as you carry them, they’re a fantastic instrument for more resistance during your rucks.
Sandbags vs. Ruck Plates: Which Is Better?
What ruckers may use instead of sandbags are ruck plates, which are weighted plates that are typically 20 to 30 pounds a pop. You can buy heavier ruck plates if you want and even lighter-weight ones.
Is carrying a ruck plate preferable to using sandbags for rucking? Well, that’s something that will come down to personal preference. Ruck plates are usually more expensive since you can’t make your own unless you’re experienced with metalworking. On top of that, you don’t get any dynamic movement since ruck plates are stable and don’t shift when you carry them.
If you’re torn between using sandbags and ruck plates, our advice is this. Try them both and see which one works better for you. You might not even have to decide if you don’t want to. You can put a sandbag and a ruck plate in your rucksack and see how the combination of the two feels!
Check out our recent rucking plates guide to better understand what they are, what consider before buying one, and why rucking plates are worth it.
Ready-to-Go Sandbag Options
There are lots of reasons why making a DIY sandbag ruck pill might not be an option for you right now. Perhaps you don’t have a scale or you’re short on time. Well, fortunately for you, you don’t have to go DIY. You can always buy some ready-to-go-sandbags instead.
Here are our 3 faves:
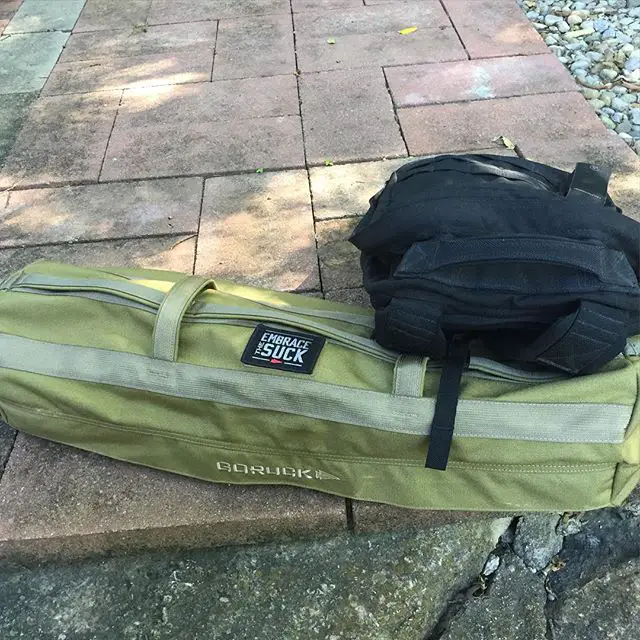
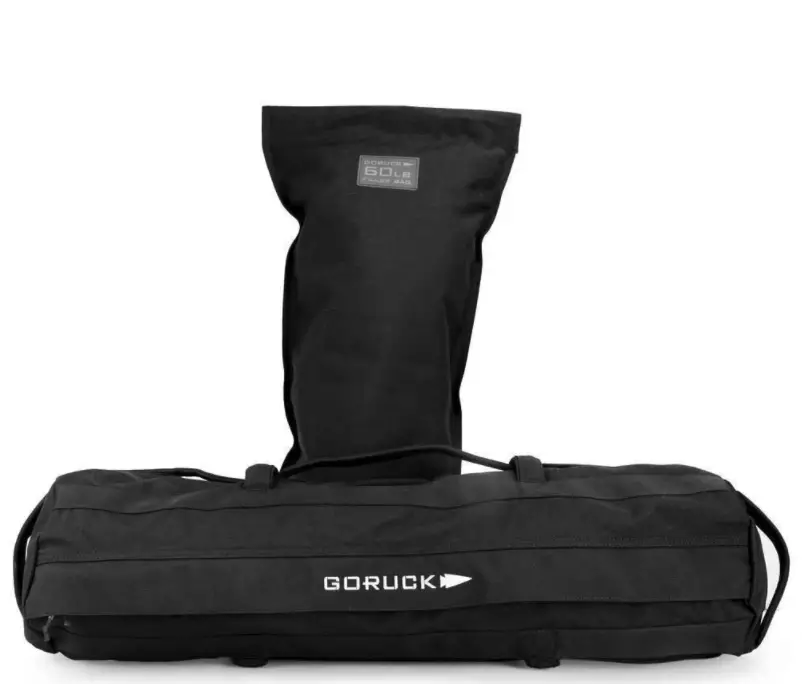
GORUCK Sandbags
Although these GORUCK sandbags aren’t the most inexpensive at $145 a pop, they’re high quality through and through. Each bag has 28 bartacks complete with 42 stitches apiece for great durability. The seams feature double-pass stitching too. Reinforced Box X Stitch handles can stand up to your everyday rucking, and the handles are padded instead of covered in rubber. Your hands will appreciate that.
Brute Force Sandbags
These Brute Force sandbags (link to Amazon) are powerful stuff! All bags are produced in the United States with interior shell reinforcements and a 1,000-denier Cordura base. That’s the same material the military favors, FYI. The low-profile handles are gentler on your hands and the Mil-Spec zipper is 1,000-denier.
Brute Force includes double-Velcroed filler bags, one that’s 30 pounds and a second that’s 50 pounds, but you have to supply your own sand. The bag is available in black or blue with black accents; both colors proudly feature the Brute Force logo.
It’s a great alternate to GORUCK’s Sandbags. Check out more GORUCK alternative rucking gear.
Garage Fit Sandbags
Our third pick is an Amazon’s Choice product, Garage Fit sandbags (link to Amazon). These tough filler bags have interior liners with double-sealed Velcro for keeping sand in place. The exterior zipper is thick and tough, again to keep sand in the bag, not all over the inside of your rucksack. With eight handles in all, you can carry or hold this bag, using it in all sorts of ways.
The base of the bag is nylon Cordura with extra nylon stitching for reinforcement. Garage Fit says the nylon they use is waterproof. Like the Brute Force sandbags, this bag from Garage Fit doesn’t include sand.
The bags cost $90 apiece and can carry sand weighing 25 to 75 pounds. You have all sorts of cool color options for your sandbag, including tan, red, pink, military green, gray camo, green camo, navy blue, and black.
Final Thoughts
DIY sandbag rucking is an easy, fun way to increase the difficulty of your rucks. Now that you know the steps and have the materials for making your own sandbags, you can convince all your rucking buddies to carry sandbags!


